- Type
- Lesson plan
- Subject
- Computer Science & Coding
- Topics
- Computer Science
- Grade
- Primary (Grades 3-5)
- Ages
- Ages 8-10
- Skills
- Critical thinking
How can we use loops and Agent movement commands to construct a secure perimeter wall around a village?
Overview
In this engineering and computer science challenge, students define a clear design problem: securing an entire village by building a protective wall. By breaking the construction project into automated tasks, learners explore how automation and programmatic thinking can solve architectural and structural challenges efficiently.
Using Minecraft Education and Code Builder, students write scripts to direct their personal Agent. Instead of placing every block by hand, learners test movement controls, load their Agent inventory, and implement repeat loops to erect sturdy multi-block structures along a predefined foundation.
Learning objectives
By the end of this lesson students will be able to:
- Define the criteria and constraints needed to successfully enclose a village perimeter.
- Write and test a repeat loop that enables the Agent to build vertical wall segments.
- Sequence Agent movement and placement commands to navigate turns and continuous foundations.
- Analyze non-working code snippets to identify errors and propose corrective fixes.
Blocks and items used in this lesson


Key vocabulary
- Agent
- A programmable helper in Minecraft that carries inventory and performs actions through code.
- Repeat Loop
- A coding structure that executes a set of instructions multiple times.
- Inventory
- The storage slots where items and construction blocks are held for the player or Agent to use.
Before class
Lesson sequence
- Problem Definition and Criteria Review
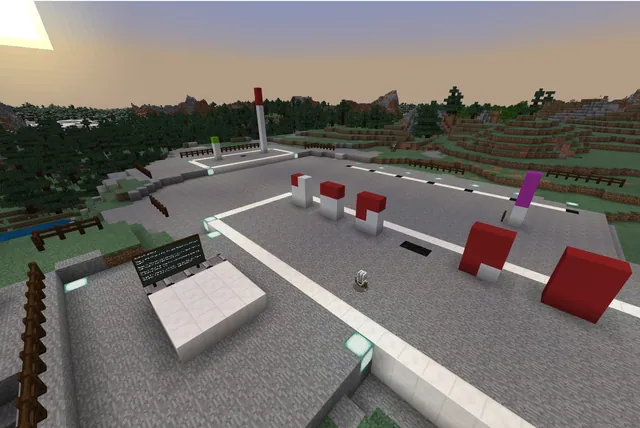
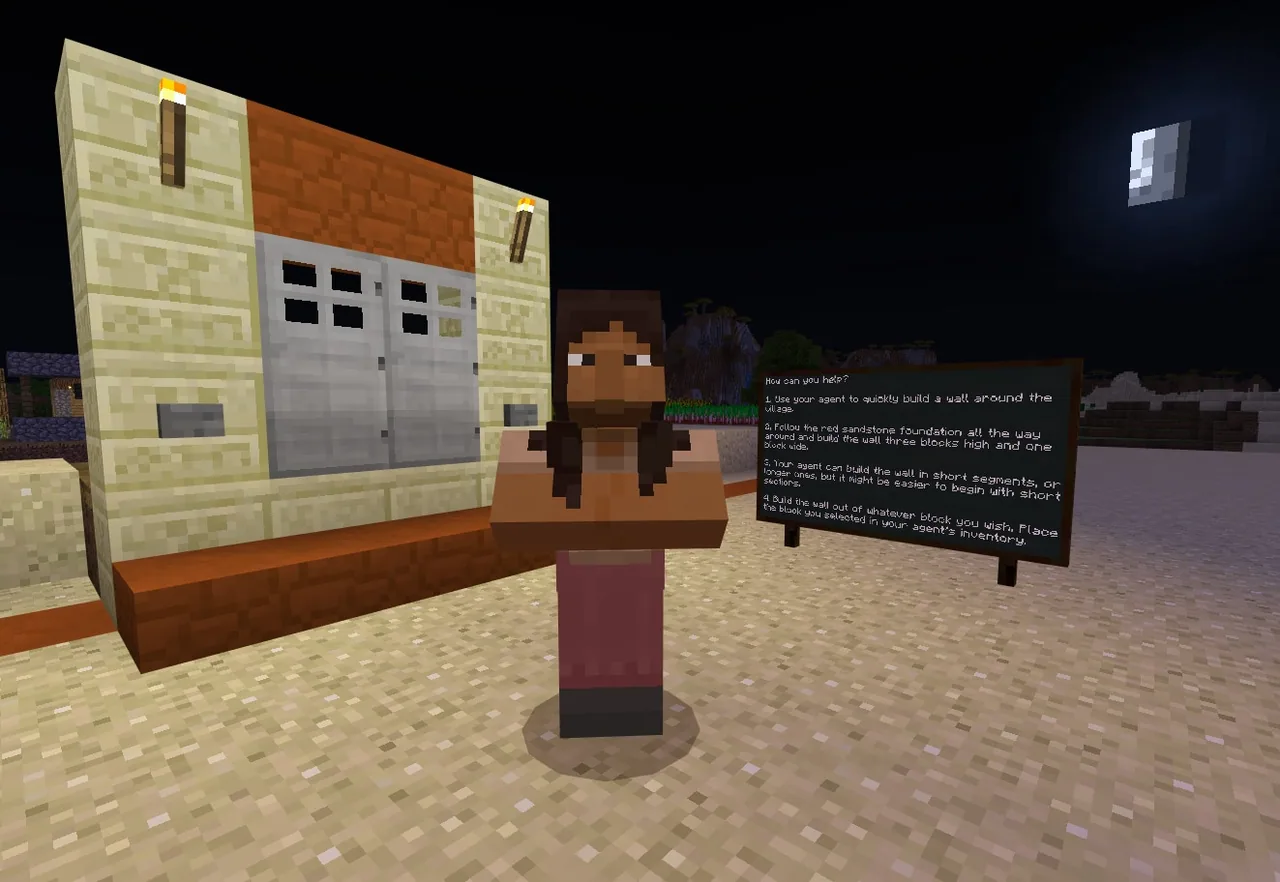
Introduce the engineering challenge: protecting the village. Outline the success criteria with the class: the finished wall must be at least three blocks tall, one block wide, and fully trace the red sandstone foundation line.
- Agent Setup and Material Selection
Have students choose their building material and load those blocks into the Agent's inventory. Remind learners to position their Agent along the sandstone line using the teleport to player command.
- Code Construction and Testing
Working individually or in small teams, students write code using repeat loops, place on move, and directional commands (forward, turn left, turn right). Encourage testing small sections of wall before attempting to enclose entire stretches or tackle corners.
- Debugging and Perimeter Enclosure
Students continue building around the village perimeter. If the Agent stops or misplaces blocks, students inspect their loop limits and turning logic to adjust their scripts.
- Code Reflection and Review
Regroup to discuss what made loops effective, what challenges arose at corners, and how criteria for success were met. Display samples of broken code to collaboratively diagnose why they did not work.
Assessment: success criteria
- The wall completely encloses the village along the red sandstone foundation line.
- The wall meets the minimum dimensions of three blocks high and one block wide.
- The student successfully used a repeat loop within Code Builder to place building materials.
- The student can articulate what a loop does and explain how they solved a programming challenge.
Differentiation
Provide the wall-building tutorial and guide students to test a simple vertical loop on a straight one-block strip before attempting corners.
Challenge students to program their Agent to navigate 90-degree turns autonomously and seal the entire perimeter in a single automated program run.
Knowledge check
5 questions to check understanding after the lesson. Tap an answer to see if it is right; the score appears at the end.
1What is the primary function of a loop in coding?
Answer: B. A loop is used to execute specified coding statements repeatedly.
2What must students do before their Agent can build with a selected material?
Answer: B. The Agent requires building materials to be loaded into its inventory before executing placement commands.
3What is the minimum required wall height for this engineering challenge?
Answer: C. The challenge criteria state that the fortress wall must be at least three blocks tall.
4Which marker line does the Agent need to trace around the village?
Answer: A. Students are instructed to follow the red sandstone foundation to verify the entire perimeter is secured.
5Why is testing small segments of code recommended before running a large building loop?
Answer: D. Testing small code segments first ensures logic works properly before committing to longer or multiple loops.
Resources
Part of the Code for STEM curriculum
This is lesson 19 of 20 in Code for STEM.
- 3-D Fractions
- Aquarium
- Build a Dam
- Canyon Arch Bridge
- Chicken or the Egg
- Creeper Tower Test
- Energy Transfer
- Forces
- Hour of Code: AI for Good
- Minecraft Code Town
- Molecules
- Number Line Railroad
- Plate Motions
- Road Construction Ahead
- Scale
- Slope
- Surface Area and Perimeter
- Units of Measurement
- Walled Fortress
- Wave Properties
Frequently Asked Questions
Are students restricted to a single building material for their fortress?
No. Students may choose any building block they like, provided they load an adequate supply into the Agent's inventory prior to running the program.
How should students tackle building around corners?
Students should break down the movement into sequential steps, using turn commands such as turn left or turn right combined with forward movement before re-initiating their placement loop.
What is an effective way to handle code that fails during the lesson?
Capture screenshots of non-working code and share them with the group so students can collaboratively analyze what went wrong and how to fix it.
Adapted from Walled Fortress by John Miller on Minecraft Education, last updated Jan 25, 2019. This classroom version, the timings and the quiz were written by 9Minecraft Education.