- Type
- Lesson plan
- Subject
- Computer Science & Coding
- Topics
- Computer Science
- Ages
- Ages 6-7
- Duration
- 1 hour
- Level
- Beginner
How does writing code help us build large city structures more efficiently than placing blocks by hand?
Overview
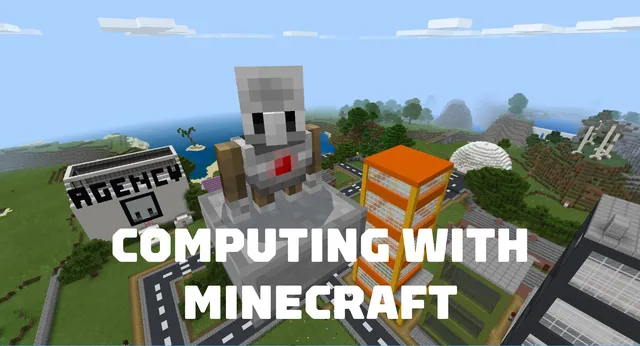
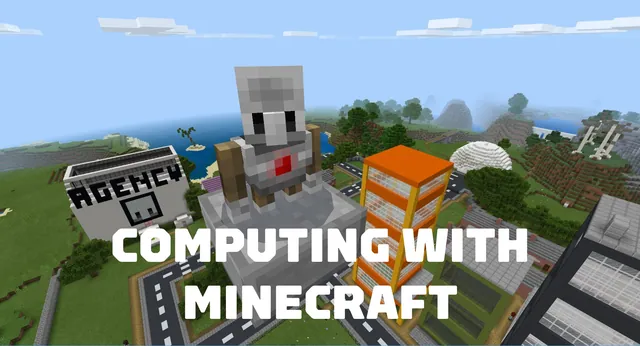
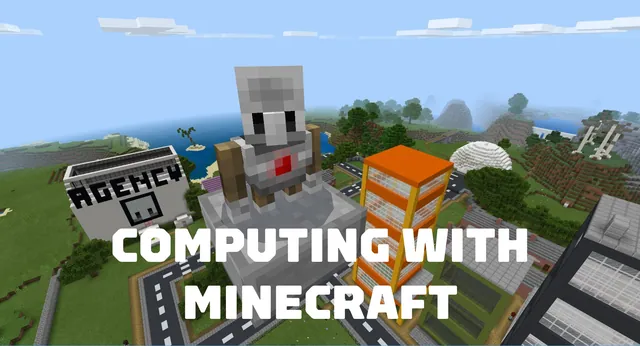
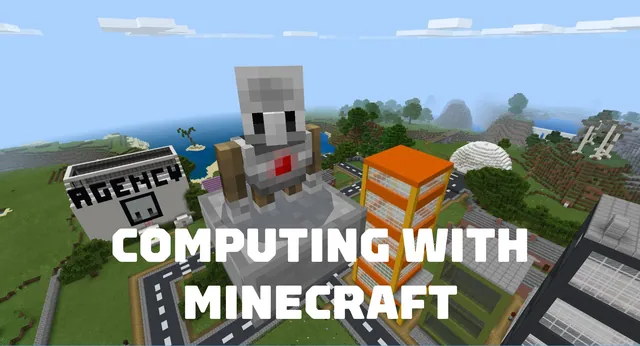
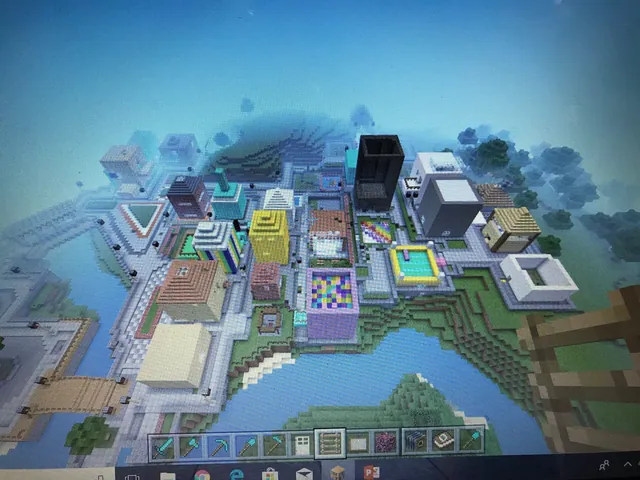
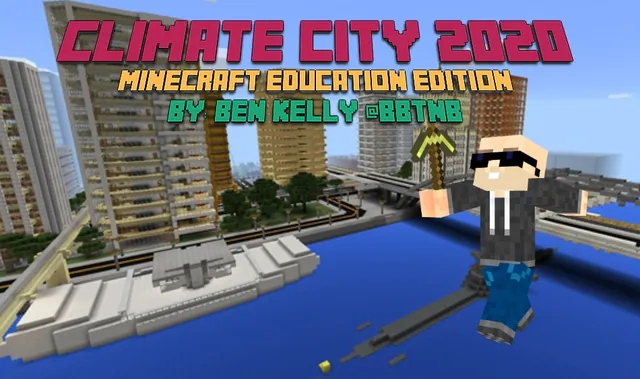
In this beginner computer science unit, young learners discover how automation helps creators construct large city projects with speed and precision. By pairing thoughtful planning with block-based programming, students contrast the time spent placing blocks by hand against running automated code.
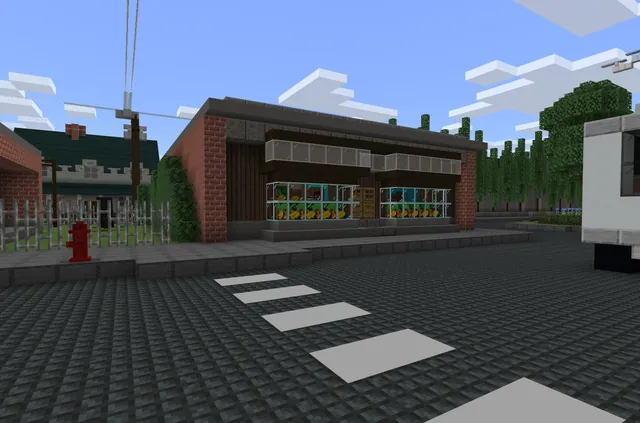
Using a dedicated lesson world, students progress through three guided tasks: designing road networks, raising multi-block buildings, and replicating structures through cloning. Throughout these exercises, students use commands from the Player, Agent, and Blocks coding menus to reshape their environment.
Learning objectives
By the end of this lesson students will be able to:
- Design a planned build with an intended outcome prior to construction.
- Combine multiple coding features into a single automated outcome.
- Compare manual block placement to code-based building to understand efficiency.
- Use Player, Agent, and Blocks code blocks to modify the Minecraft world.
Blocks and items used in this lesson


Key vocabulary
- Agent
- A programmable companion in Minecraft that carries out automated building and moving instructions.
- Clone
- A feature used to copy a completed structure and place duplicates in other locations.
- Efficiency
- Accomplishing a building task faster and with less manual effort by using automated tools like code.
Before class
Lesson sequence
Suggested timing: about 60 minutes in total.
- Planning and Manual Building15 min
Introduce the city planner role and have students plan their road layout on paper or through discussion. Allow learners to manually build a small road segment to observe how much time hand placement takes.
- Lesson 1: Coding Roads15 min
Guide students to code a road network using Player and Blocks commands. Ask students to compare the speed and consistency of their code to their manual road-building trial.
- Lesson 2: Coding a Building15 min
Have students plan a simple structure, assemble a prototype manually, and then translate the design into code. Emphasize combining multiple block-coding commands to automate the build.
- Lesson 3: Cloning Houses and Assessment15 min
Direct learners to manually build a single house and use the clone command to produce an entire row of identical houses. Conclude by running the formative assessment checks from the educator guide.
Assessment: success criteria
- Student creates code that produces an intended building structure.
- Student identifies why coding is more efficient than manual building for large-scale projects.
- Student successfully applies Player, Agent, or Blocks commands within their world.
- Student duplicates a house into a row using cloning actions.
Differentiation
Pair students together to plan their structures and provide starter code templates for the road network.
Encourage fast finishers to expand their road grid or combine Agent actions with clone commands to construct larger neighborhoods.
Knowledge check
5 questions to check understanding after the lesson. Tap an answer to see if it is right; the score appears at the end.
1Why is coding helpful when building large projects in Minecraft?
Answer: B. Writing code automates repetitive actions, saving time on large-scale builds.
2Which three coding features do students use during the City Planner lessons?
Answer: A. The unit focuses specifically on the Player, Agent, and Blocks coding menus.
3What coding action do students use in Lesson 3 to turn one house into a row of houses?
Answer: B. Lesson 3 teaches students to clone a completed house to make a row.
4What is the recommended first step before coding or manually building in these lessons?
Answer: D. Each lesson starts with an intentional planning activity before construction begins.
5Which primary subject area is taught in this Minecraft unit?
Answer: C. City Planner is Unit 2 of the Computing with Minecraft computer science curriculum.
Resources
- Lesson package (.zip)Everything the author attached to this lesson in one download.
- Classroom PresentationComputing with Minecraft: City Planner
- Educator GuideComputing with Minecraft: City Planner
- Curriculum OverviewComputing with Minecraft
- Lesson worldOpens the world page in Minecraft Education (sign-in with a school account may be needed).
Part of the Computing with Minecraft curriculum
This is lesson 2 of 9 in Computing with Minecraft.
- Unit 1: The Agency
- Unit 2: City Planner
- Unit 3: Parks & Recreation
- Unit 4: A Zoo
- Unit 5: Wind Power
- GameCode
- Hour of Code: Escape Estate
- Hour of Code: Generation AI
- Hour of Code: The Show Must Go On
Frequently Asked Questions
What experience level and age range is this lesson designed for?
This unit is built for beginner computer science students between the ages of 6 and 7.
Where are the student formative assessments located?
Formative assessments for each lesson are included at the end of the educator guide found in the supporting files.
Why do students build by hand before coding?
Manual building gives students a direct comparison point so they can see firsthand how code provides greater efficiency.
Adapted from Unit 2: City Planner by Minecraft Education on Minecraft Education, last updated Sep 15, 2023. This classroom version, the timings and the quiz were written by 9Minecraft Education.