- Type
- Lesson plan
- Subject
- Art, Music & Design
- Topics
- Art and Design
- Ages
- Ages 8-13
- Includes
- Quiz: 5 questionsLesson files
How can you use three-dimensional space, materials, and viewing angles to transform your name into a work of art?
Overview
Visual art projects often focus on physical media, but digital environments offer a rich space for three-dimensional exploration. In this lesson, students take their own names as creative inspiration to design and construct original 3D sculptures while considering form, space, and material choice.
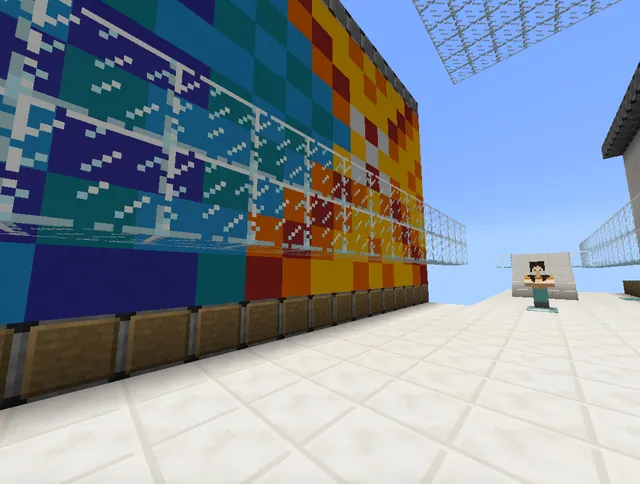
Working in a peaceful Creative world, learners manipulate block dimensions, elevation, and depth to produce their sculptural typography. They build dedicated viewing benches to highlight key viewing perspectives and use the in-game Camera and Portfolio to record their artistic process from start to finish.
Learning objectives
By the end of this lesson students will be able to:
- Design a three-dimensional digital sculpture based on letters of your name.
- Select materials, dimensions, and spatial layouts that express personal meaning or aesthetic goals.
- Construct viewing benches to guide an audience toward intentional viewing angles.
- Document the design process before, during, and after building using the Camera and Portfolio.
Blocks and items used in this lesson


Key vocabulary
- Viewing Bench
- A designated structure built in the world to seat observers at the best visual angle to see an artwork.
- Redstone
- A Minecraft material used to build electrical circuits that can power mechanisms and lights.
- Portfolio
- An in-game book tool used to collect photographs and written captions documenting student progress.
- Dimensions
- The measurable extents of a shape or letter, including its length, width, and height.
Before class
Lesson sequence
- Planning and World Setup
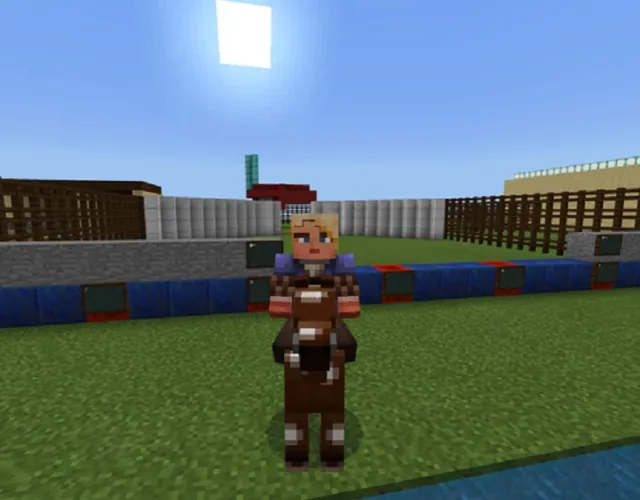
Students launch a flat grass world in Creative mode set to Peaceful, disabling wandering mobs, weather, and day/night cycles to ensure an uninterrupted workspace. Using guiding questions, learners decide which name to sculpt, select meaningful or aesthetic materials, and plan their letter dimensions across length, height, and depth.
- Sculpting the Name
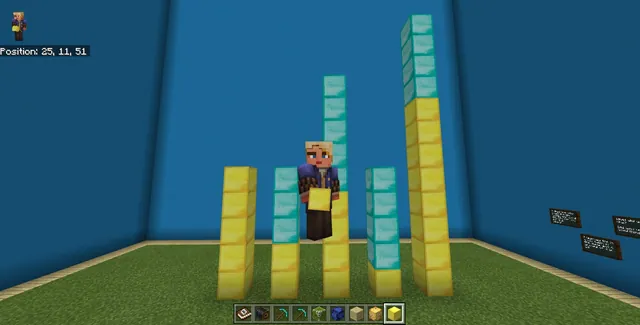
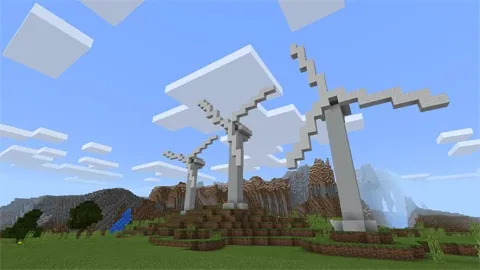
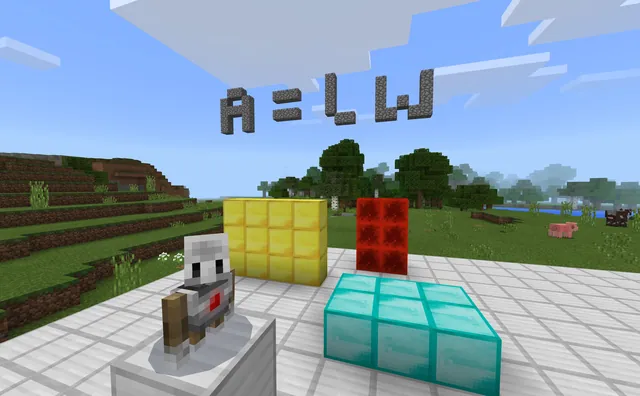
Learners construct their name in blocks, deciding whether the structure rests on the ground, floats in the air, or combines both. Throughout the construction phase, students use the Camera and Portfolio to capture photographs documenting their initial attempts, ongoing progress, and completed sculpture.
- Crafting Viewing Benches
Once the sculpture is complete, students determine the most compelling angles for an audience and build viewing benches at those vantage points. They sit at each bench, photograph the sculpture from that exact perspective, and insert labeled images into their Portfolio.
- Interactive Extensions
Students who finish early incorporate redstone wiring into their sculpture to illuminate the letters, position interactive light switches at the viewing benches, or enable the daylight cycle so the lights activate automatically at dusk.
- Reflection and Portfolio Export
Students review their Portfolio pages, add captions explaining their design choices based on the guiding questions, sign their completed work, and export the file to OneDrive to share with peers and the teacher.
Assessment: success criteria
- The sculpture is built in three dimensions using deliberate choices of materials, letter height, length, and depth.
- Viewing benches are installed to direct audience perspectives toward intentional viewing angles.
- The student captures photographs documenting the creative process before, during, and after construction.
- The completed Portfolio is labeled, signed, and successfully exported to OneDrive.
Differentiation
Students may focus on a single short nickname or initial using a flat ground layout and single-block letter widths.
Students can add redstone wiring to light up their letters, wire switches to viewing benches, or produce a video tutorial for Brightspace.
Knowledge check
5 questions to check understanding after the lesson. Tap an answer to see if it is right; the score appears at the end.
1What world settings are recommended before starting the sculpture?
Answer: B. The activity instructions direct students to use a Creative and Peaceful grass world with mobs, weather, and daylight cycles disabled.
2Why are students asked to construct viewing benches?
Answer: A. Viewing benches communicate the most interesting angles and vantage points for the audience to experience the artwork.
3Which in-game tools do students use to document their design process?
Answer: C. Students are instructed to take pictures with the Camera and compile them into the Portfolio before, during, and after building.
4How should students share their finished work according to the lesson?
Answer: D. The final step instructs students to proofread, sign, and export their Portfolio to OneDrive to share with their teacher and peers.
5What can students add as an advanced extension to make their sculpture interactive?
Answer: B. The extension challenges invite students to light up their name using redstone circuits and install switches near the viewing benches.
Resources
Frequently Asked Questions
Do students need an existing custom world template to start this project?
No custom map download is required. Students can start directly in a standard flat grass world configured to Creative and Peaceful mode.
Where should students place the switches if they choose the redstone extension?
The lesson guidelines recommend placing light switches near the viewing benches so that observers can control the illumination from their viewing seats.
What platform is mentioned for sharing extension video tutorials?
Students who produce tutorial videos showing how to build lighted name sculptures can upload them to their Brightspace classroom.
Adapted from Sculpt Your Name (in lights?) by Jan Lewis on Minecraft Education, last updated Sep 25, 2020. This classroom version, the timings and the quiz were written by 9Minecraft Education.