- Type
- Lesson plan
- Subject
- Science
- Topics
- Science
- Ages
- Ages 14-18
How does an object's distance from a convex lens change the position, nature, and magnification of the image it creates?
Overview
In this physics lesson, students investigate how the distance of an object from a convex lens influences the nature, position, and magnification of the resulting image. Through direct instruction, students learn fundamental ray diagram rules, the standard lens formula, and optical sign conventions.
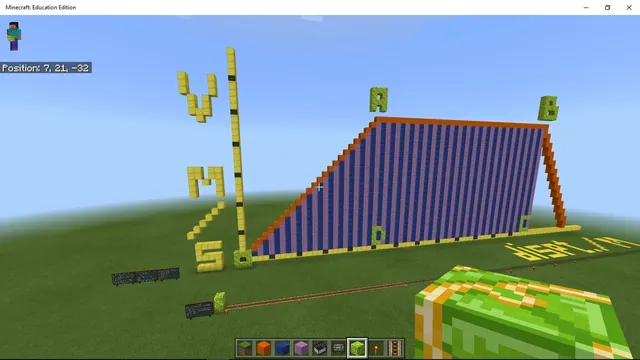
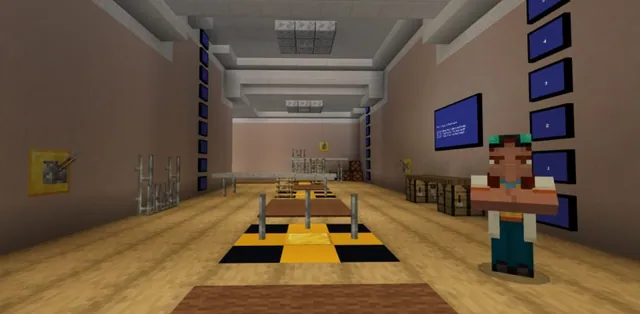
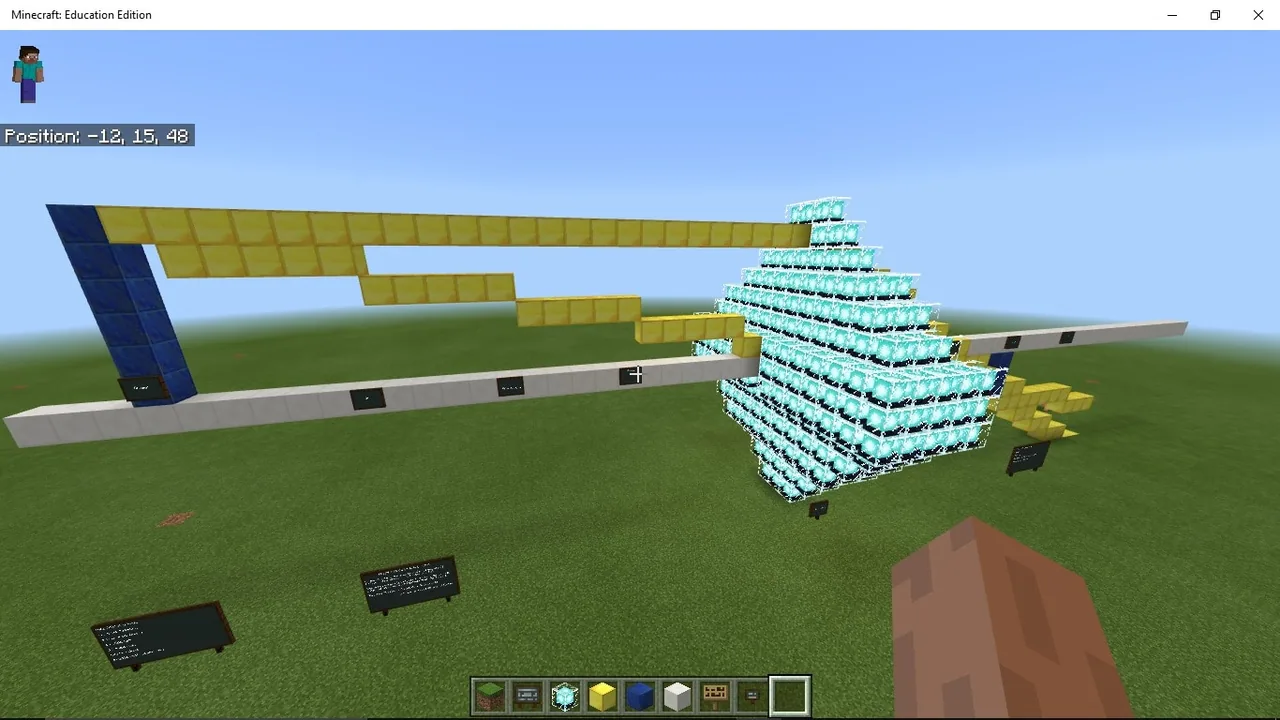
Learners first draft ray diagrams on graph paper to visualize scale and coordinate spacing, then translate their work into Minecraft. Working in groups within the provided world, students build optical rays for multiple object positions, verify image formation, and calculate magnification across both paper and digital models.
Learning objectives
By the end of this lesson students will be able to:
- Draw accurate ray diagrams on graph paper using optical conventions.
- Construct 3D ray diagrams in Minecraft for objects placed at 2f, between f and 2f, at f, and between the lens and f.
- Apply optical sign conventions and the lens formula to determine image characteristics.
- Calculate and compare the magnification produced in graph paper diagrams and Minecraft builds.
Blocks and items used in this lesson


Key vocabulary
- Convex lens
- A lens that curves outward and converges light rays passing through it.
- Pole
- The central geometric point on the surface of an optical lens.
- Focal length (f)
- The distance from the lens pole to the focal point where parallel light rays converge.
- Ray diagram
- A geometric drawing tracing the path of light rays to determine where an image forms.
- Magnification
- The ratio comparing the size of the produced image to the actual size of the object.
- Sign convention
- A standardized set of positive and negative signs used when measuring optical distances.
Before class
Lesson sequence
- Optics Fundamentals and Rules
Present the optical slide deck to the class. Introduce ray diagram rules, the standard lens formula, and the sign conventions used to determine image distance and orientation.
- Worksheet and Graph Paper Mapping
Students complete the optical worksheet questions. In small groups, they draw ray diagrams on graph paper with the object placed at different distances, establishing a grid-based guide for building in Minecraft.
- Minecraft Ray Diagram Construction
If needed, provide a quick demonstration on block placement. Student groups then build ray diagrams in Minecraft, placing objects at four designated locations: at 2f, between f and 2f, at f, and between the lens and f.
- Magnification Analysis and Verification
Students calculate the magnification obtained from their graph paper drawings and compare it with measurements taken from their Minecraft builds, checking for consistency across both models.
Assessment: success criteria
- Complete and accurate solutions on the provided optical worksheet.
- Correct block placement representing rays, lenses, and image positions at all four required distances in Minecraft.
- Camera photos, screenshots, or portfolio exports demonstrating student builds.
- Consistent magnification calculations derived from both graph paper and Minecraft ray diagrams.
Differentiation
Offer a guided block-placement demonstration and step-by-step sign convention reminders before building begins.
Have students construct ray diagrams for concave (diverging) lenses to compare image formation behavior.
Knowledge check
5 questions to check understanding after the lesson. Tap an answer to see if it is right; the score appears at the end.
1What primary factor determines the properties of an image formed by a convex lens?
Answer: B. The source notes that image properties depend directly on the distance between the object and the lens pole.
2Why do students draw ray diagrams on graph paper before opening Minecraft?
Answer: A. Graph paper helps groups visualize optical rays on a grid to guide block placement in the game.
3Which of the following is NOT one of the required object positions for the Minecraft build?
Answer: D. The lesson specifically assigns builds at 2f, between f and 2f, at f, and between the lens and f.
4What mathematical quantity do students calculate using both their paper and Minecraft diagrams?
Answer: C. The source asks students to calculate magnification from both paper drawings and Minecraft models.
5What extension activity is suggested for learners who complete their tasks early?
Answer: A. The source specifically lists ray diagrams for concave (diverging) lenses as an extension idea.
Resources
- Lesson package (.zip)Everything the author attached to this lesson in one download.
- World File - Images formed by convex lensImages formed by convex lens when object is at 2f: mcworld file
- Images formed by convex lens: PPTImages formed by convex lens when object when object is placed at different positions: PPT
- Worksheet: word fileWorksheet for students: word file
- Lesson worldOpens the world page in Minecraft Education (sign-in with a school account may be needed).
Frequently Asked Questions
How can students record and submit their Minecraft optical models?
Students can document their ray diagram builds using screenshots, the in-game camera, and portfolio exports to attach alongside their written worksheet.
What should be done if students are unfamiliar with placing blocks in Minecraft?
Teachers can provide a short live demonstration illustrating how to place and align blocks to represent optical axes, lenses, and light rays.
Adapted from Images formed by convex lens. by Vilas Bhagwat on Minecraft Education, last updated Jun 7, 2022. This classroom version, the timings and the quiz were written by 9Minecraft Education.