- Type
- Lesson plan
- Subject
- MathHistory & Social Studies
- Ages
- Ages 11-13
- Duration
- about 85 min (suggested)
- Includes
- Quiz: 5 questions
How do contour lines represent elevation changes, and how can we use them to choose a route up a mountain?
Overview
Contour maps translate three-dimensional elevation changes into two-dimensional drawings, helping navigators interpret the shape and steepness of the terrain. By studying how elevation lines represent physical slopes, learners develop essential spatial skills needed to read maps and plan safe, efficient routes across changing landscapes.
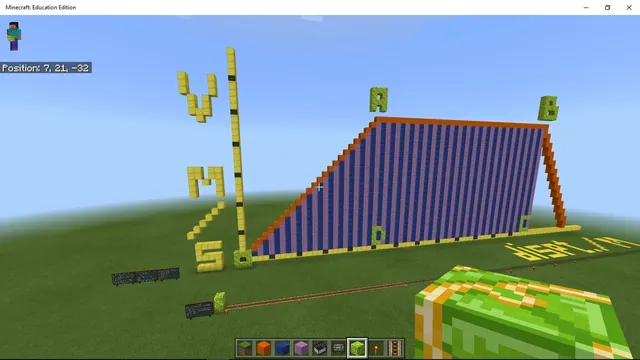
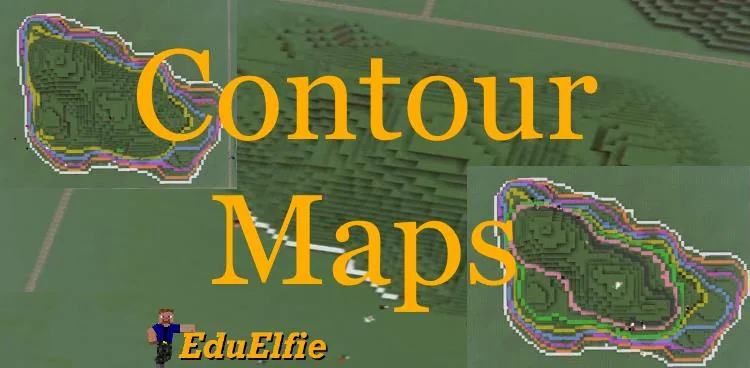
Using a custom Minecraft world, students work in groups to examine in-game mountains and convert them into contour representations. They then reverse the process by constructing an approximated three-dimensional mountain from a flat contour map, demonstrating firsthand how contour intervals work and why map models remain approximations.
Learning objectives
By the end of this lesson students will be able to:
- Construct an accurate contour map based on a three-dimensional mountain in Minecraft.
- Build a three-dimensional mountain model that approximates the elevation shown on a contour map.
- Explain how contour lines indicate terrain steepness and why physical slopes between lines are approximations.
- Select and justify a climbing path on a hypothetical topographical map using geographical reasoning.
Blocks and items used in this lesson


Key vocabulary
- Topography
- The arrangement of physical natural features and height changes across an area of land.
- Contour Map
- A specialized map using lines to connect points of equal elevation above sea level.
- Contour Line
- A line drawn on a topographical map indicating a specific, constant height.
- Approximation
- An estimation or close representation of a shape or value that is not completely exact.
Before class
Lesson sequence
Suggested timing: about 85 minutes in total.
- Introduction and Demonstration10 min
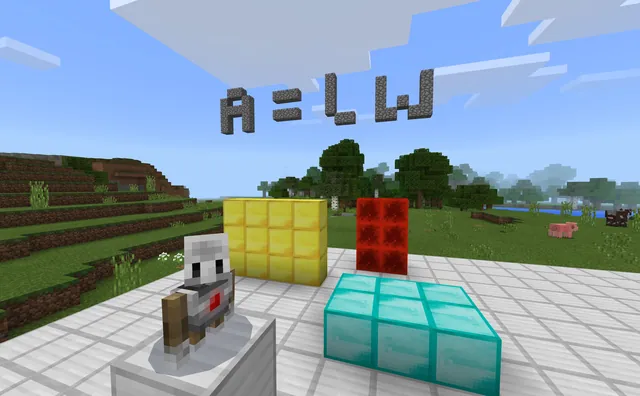
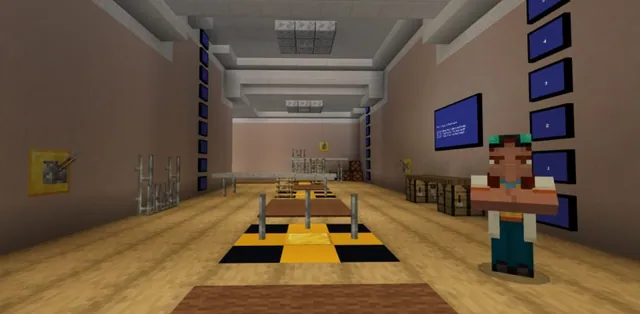
Gather students at the spawn area in the Minecraft world. Use the built-in demo mound to show learners how height changes translate into contour levels.
Divide the class into up to three groups and direct them to step through their designated group doors to reach their identical mountain building sites.
- Activity 1: Make a Contour Map30 min
Students inspect their group mountain and construct a corresponding contour map. If working as a single whole class, position your teacher avatar directly above the peak looking straight down and project the screen so learners can watch the map form in real time.
- Activity 2: Build me a Mountain30 min
Teleport all learners to the Activity 2 staging area using the teacher control platform at 264 224 -1452. Challenge groups to reconstruct a 3D mountain based solely on a provided contour map layout.
- Class Discussion and Route Analysis15 min
Draw an unfamiliar topographical map on the classroom board. Have students identify which path they would take to climb the summit and explain the reasoning behind their route choice.
Conclude with a discussion on why mountains built from contour lines are only ever approximations, emphasizing that unknown slope variations can occur between marked lines.
Assessment: success criteria
- Student contour maps accurately mirror the levels and shape of the assigned in-game mountain.
- The 3D mountain built in Activity 2 reflects the elevation changes depicted on the contour map.
- Students clearly articulate reasons for choosing a specific climbing path on a drawn contour map.
- Students explain in class discussion why intermediate slopes between contour lines cannot be known with total certainty.
Differentiation
Gather struggling students around the demo mound to review how single height increments translate into flat boundary lines before they map their mountain.
Have advanced learners compare two contrasting route options on the board map, detailing the tradeoffs between steeper, shorter climbs and gentler, longer paths.
Knowledge check
5 questions to check understanding after the lesson. Tap an answer to see if it is right; the score appears at the end.
1What is the primary purpose of a contour or topographical map?
Answer: B. Topographical maps are specifically created to help people understand elevation and terrain changes.
2What in-game coordinate takes the teacher to the control platform for Activity 2?
Answer: C. The source specifies using /tp 264 224 -1452 to reach the teacher control platform.
3Why is a 3D mountain reconstructed from a contour map considered an approximation?
Answer: B. The lesson notes that we only know the contour lines themselves, meaning anything could happen across the slope between them.
4How can a teacher best help a single whole-class group visualize the contour map during Activity 1?
Answer: B. The source recommends positioning the teacher character top and center looking straight down and projecting that perspective onto a screen.
5What post-lesson activity checks students' understanding of map navigation?
Answer: A. The post-lesson work directs the teacher to sketch a random contour map on the board and ask students to choose and explain their route.
Frequently Asked Questions
How many student groups does the downloadable world support?
The world includes three identical mountains accessible through doors labeled Group 1, 2, and 3, allowing you to split your class into three or fewer working groups.
How long should each in-game build phase take?
According to trial data in the source, a class of about twenty students took just over 30 minutes to complete the contour map activity and a similar amount of time to build the mountain model.
Adapted from Exploring Contour Maps by Stephen Elford on Minecraft Education, last updated Jan 5, 2022. This classroom version, the timings and the quiz were written by 9Minecraft Education.