- Type
- Lesson plan
- Ages
- Ages 6-10
How can we design and construct a symmetrical bridge that proves its strength, safety, and value to others?
Overview
In this lesson, students explore structural design, symmetry, and geography by planning and constructing realistic bridges across a ravine. Working in mixed-ability teams, learners research structural styles and justify their choice of materials based on strength, safety, and visual appeal.
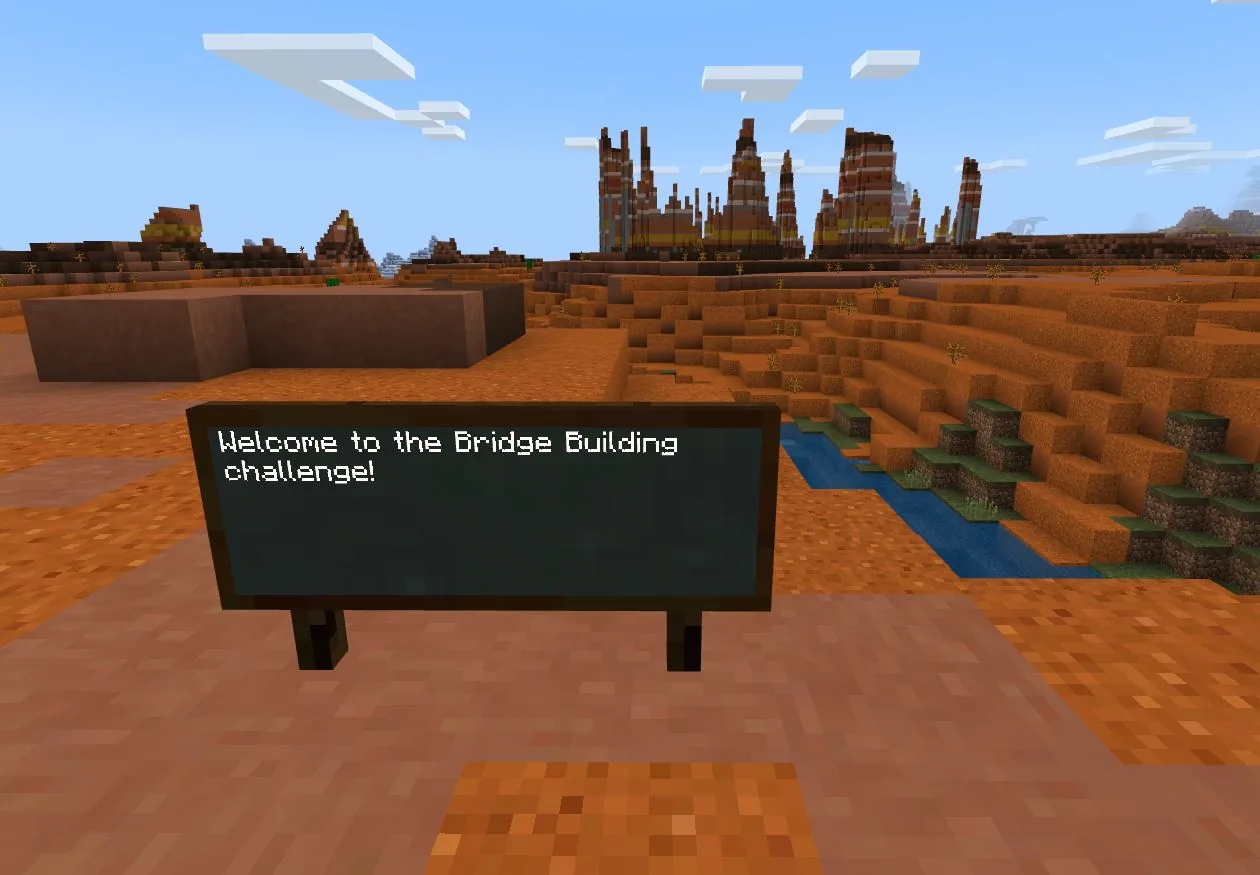
Students enter a dedicated Mesa biome world to bring their planned designs to life for a mining challenge. Along the way, they assign team roles, pause for peer feedback, and use in-game camera tools to capture their engineering work for reflective digital portfolios.
Learning objectives
By the end of this lesson students will be able to:
- Research different bridge styles and select suitable building materials.
- Sketch a collaborative bridge design before constructing it in the game.
- Build a balanced, symmetrical bridge spanning a ravine in the Mesa biome.
- Explain structural choices using terminology related to safety, appearance, and strength.
- Document the completed build with screenshots or camera tools for a reflective portfolio.
Blocks and items used in this lesson


Key vocabulary
- Symmetry
- A balanced arrangement where both sides of a structure mirror each other across a central line.
- Ravine
- A deep, narrow gorge with steep sides that requires a crossing structure.
- Integrity
- The strength and soundness of a structure that allows it to hold weight safely.
- Foreman
- A team leader designated to oversee work, guide peers, and organize construction tasks.
Before class
Lesson sequence
- Research and Planning
Organize students into mixed-ability groups of three to four with an assigned team foreman. Groups research bridge forms in the library or online, select their materials, and create a physical sketch of their bridge before opening the game.
- Ravine Construction
Students load the Mesa world and collaborate to build their planned symmetrical bridge across the ravine for the Gold Miners competition. Team members delegate tasks under the guidance of their foreman to ensure the build reflects their original sketch.
- Mid-Build Peer Review5 min
Pause construction for five minutes so teams can tour neighboring projects. Students ask peers how they solved construction hurdles and why specific materials were selected, using their insights to refine their own work.
- Documentation and Reflection
Learners use the in-game camera or snipping tools to photograph sections of their bridge. Each student then writes a short reflective piece detailing structural safety, strength, and symmetry for their digital portfolio.
Assessment: success criteria
- Student actively contributes to the initial research and bridge sketch.
- Bridge spans the ravine symmetrically and matches the planned design.
- Student uses appropriate bridge vocabulary to justify choices regarding strength, appearance, and safety.
- Portfolio includes photographic evidence and a short reflective text evaluating the build.
Differentiation
Provide targeted bridge vocabulary sheets and have the team foreman assign focused, discrete block-laying tasks.
Challenge learners to create promotional advertising materials justifying why their bridge design best serves the gold miners.
Knowledge check
5 questions to check understanding after the lesson. Tap an answer to see if it is right; the score appears at the end.
1What structural property must students demonstrate when building their bridge across the ravine?
Answer: B. The lesson specifically focuses on applying knowledge of symmetry to realistic bridge design.
2Which role is assigned to the group leader to help delegate tasks within the team?
Answer: C. The source specifies assigning the foreman role to the group leader to manage task delegation.
3In which Minecraft biome does this bridge-building challenge take place?
Answer: A. The lesson tasks students with building in the provided Mesa biome world.
4What should students do during the 5-minute pause during construction?
Answer: C. The mid-construction pause is designated for teams to view each other's bridges and ask how and why they were built.
5What are students expected to produce alongside their bridge build for assessment?
Answer: D. Students capture evidence using cameras or snipping tools and write a short reflection for their portfolio.
Resources
- Lesson package (.zip)Everything the author attached to this lesson in one download.
- Bridge Building World - MESAMesa world with spawn site next to large ravine.
Frequently Asked Questions
What tools can students use to document their finished bridge?
Students can capture images using the in-game Camera features or by using their computer's Snipping Tool with a three-second delay before adding photos to their digital portfolio.
How should student groups be organized for this activity?
Groups should consist of three to four students of mixed Minecraft ability, with a student leader designated as the foreman to manage tasks and guide peer support.
Adapted from Bridge Builders by Max Hopwood on Minecraft Education, last updated May 23, 2025. This classroom version, the timings and the quiz were written by 9Minecraft Education.